Are you having problem adjusting the brightness in windows 10 and not matter what options you tried, the windows 10 brightness control doesnt seems to work? Here are some quick solutions to fix the screen lighting issue in windows 10 operating system.
Solution 1 – Update display adapter driver
As this is the easiest to perform and generally quite safe, I recommend that you perform this step and check if it solves the illumination problem. There are some scenarios where outdated or corruption drivers cause brightness control problem in windows 10.
- Right click on the start button
-
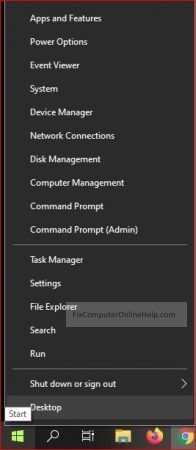
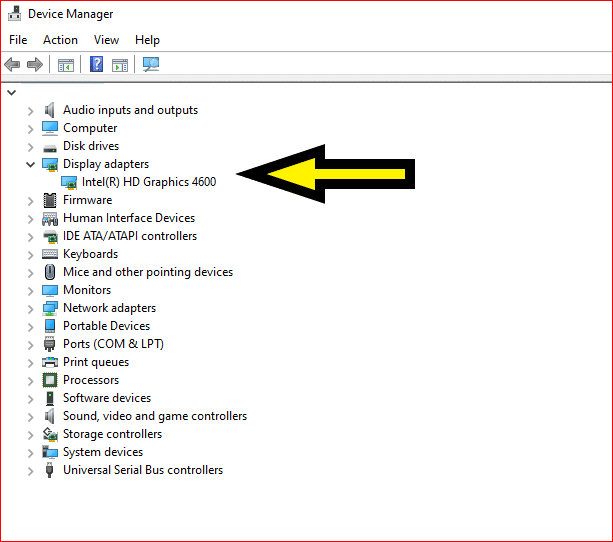
right click on start button, windows 10 - Select “Device Manager” and click on “Display Adapter“
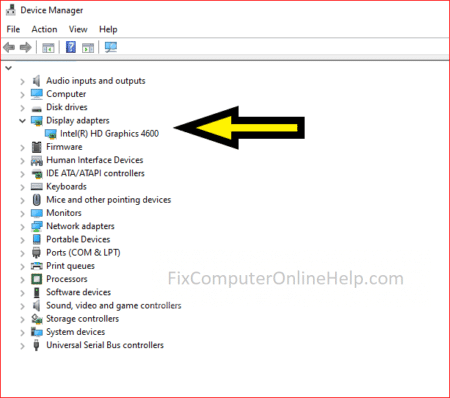
- In my case, my system uses Intel HD Graphics, double click on that. An another window will appear. ** You might be using another display adapter, such as Nvidia or AMD, or even microsoft basic display driver.
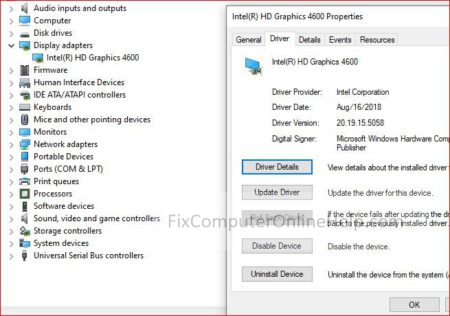
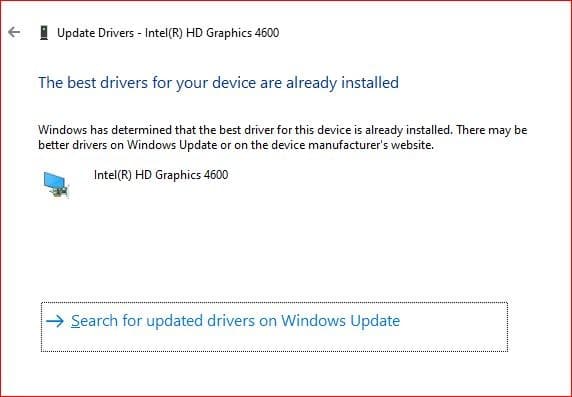
- Select the “Driver” tab and select “update driver“. (above image)
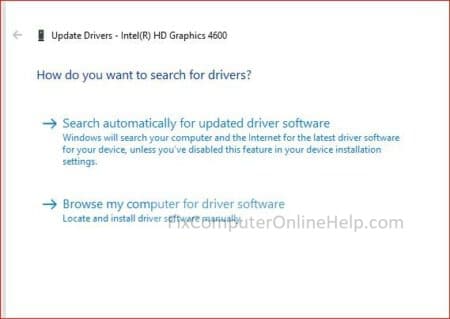
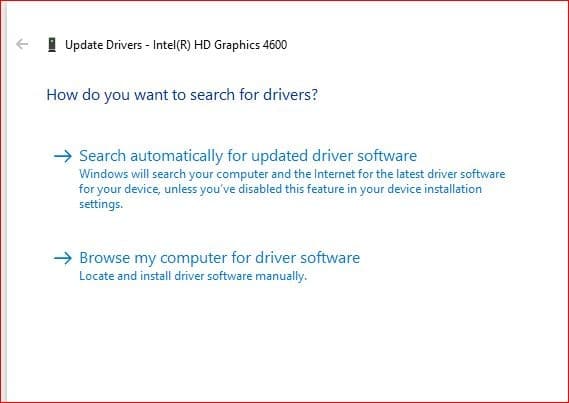
- The option on how to search for drivers will appear. For simplicity and stability, select the option “Search automatically for updated driver software“. Only select “Browse my computer for driver software” if you have downloaded the correct display driver and know what to do.
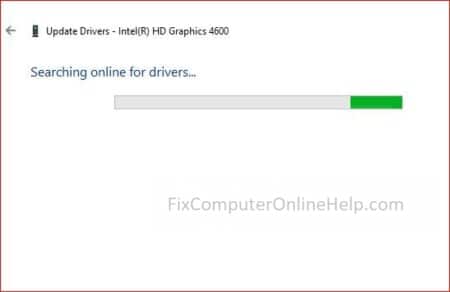
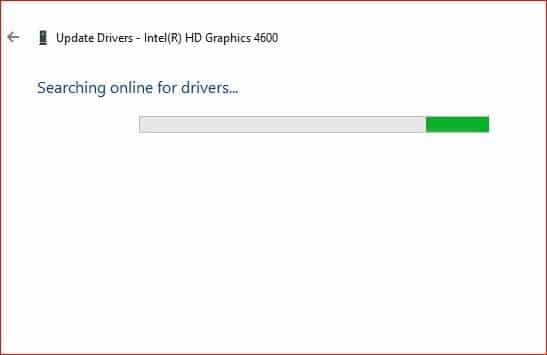
- If it found a newer version, it will then proceed to update itself, else you will see the image below.


Solution 2 – Disable and Re-enable the display adapter
This is a fairly easy step to perform to attempt to deal with the screen brightness problem. Based on the guide in solution 1, jump to step 4.
Instead of double clicking on the “Intel display driver” (yours might differs), right click on it.

and select “Disable device“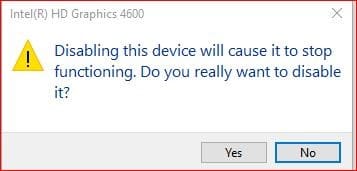
Right click on it again and the option to “Enable device” appear. Screen might momentarily start blinking again. Once done, try to adjust your windows 10 brightness again.
If it doesnt work, restart the PC and try to change your screen brightness again.
Solution 3 to solve brightness control problem in windows 10
This solution will be similar to method 2, except that we select “Uninstall device” instead of “disable device” (Based on image in soluton 2)
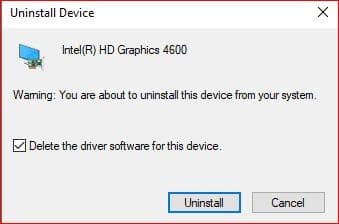
And ticked the box “delete driver software for this device“.
Once uninstalled is selected, the flickering might occur and it could be worse than the flickering in method 3. Once done, you might notice that your resolution will go haywire, such as icons and text will appear to be bigger in size. It is normal, so bear with it for now.
After performing the above, the system might prompt you to restart the computer. Restart if the prompt ask you to.
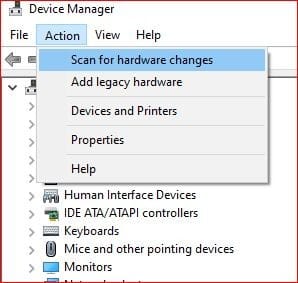
Once the PC restarts, or if there is no prompt, head over to the “Device manager” page, select “Action” and “Scan for hardware changes“. Windows 10 will then attempt to install back the uninstall device with the latest and stable version it has online.
If you notice the device appears by itself, there is a possibility the system will have downloaded and install the drivers for you.
This step will be similar to solution 1, except that if you have performed the steps in solution 1, you might not encounter the flickering when the display driver is uninstalled.
Solution 4 – Disable night light.
Night light is a feature to tone down the screen brightness and turn the screen yellowish to reduce the “blue light” glare from the monitor screen in windows 10., depending on your night light settings.
To disable this feature, right click on the notification button at the bottom right of the screen, typically beside the time. 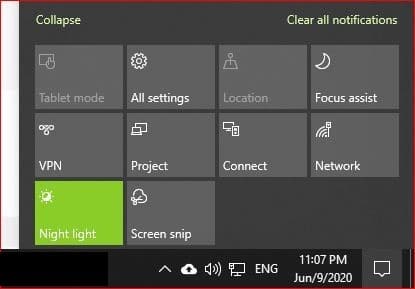
In the image above, night light is enabled. Click on it, and night light will be disabled. If you have been using night light feature for at least 30 min prior to disabling it, the screen will appear quite glaring momentarily.
Solution 5 – Edit power settings and disable adaptive brightness.
Adaptive brightness, as it’s name state, it is an automatic feature which dynamically adjust the brightness on the computer screen depending on the light sensor.
Click on the windows button and type “Power plan” and select “Edit power plan“
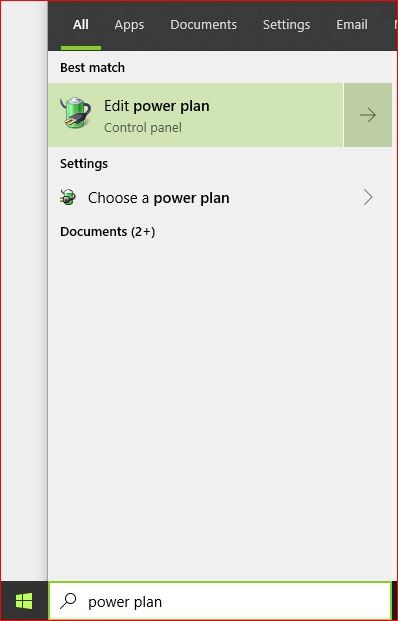
Another window should appear, select “Change advanced power settings”
Another window will pop out again, scroll down to look for the “Display” and “Enable adaptive brightness”

Ensure both settings are off and restart the computer.
Solution 6 – Update PnP monitor
Generally this step is not unneeded and doesn’t help much. If the above steps do not help, no harm in trying one last method.
Open up device manager, and instead of opening “Display Adapter”, head over to monitor. You should see a “Generic PnP monitor” item in there. Right click on it, and try to update the driver automatically, as per solution 1.
If updating doesnt work, uninstall and delete the device driver. Restart the PC and try again to install back the drivers. Similar to solution 3.
Once you perform the above steps, reboot the computer and try to modify the brightness control bar again. It should have fixed the windows 10 brightness not working problem for you!
Microsoft has its own guide to change screen brightness in windows 10, you can refer to it here. https://support.microsoft.com/en-sg/help/4026946/windows-10-change-screen-brightness