This will be the first unboxing post that i will be trying to do. However instead of a draggy video and listening to my voice, i decide to make this into a unboxing pictorial guide.
Hopefully the pictures are clear to help with your unboxing.
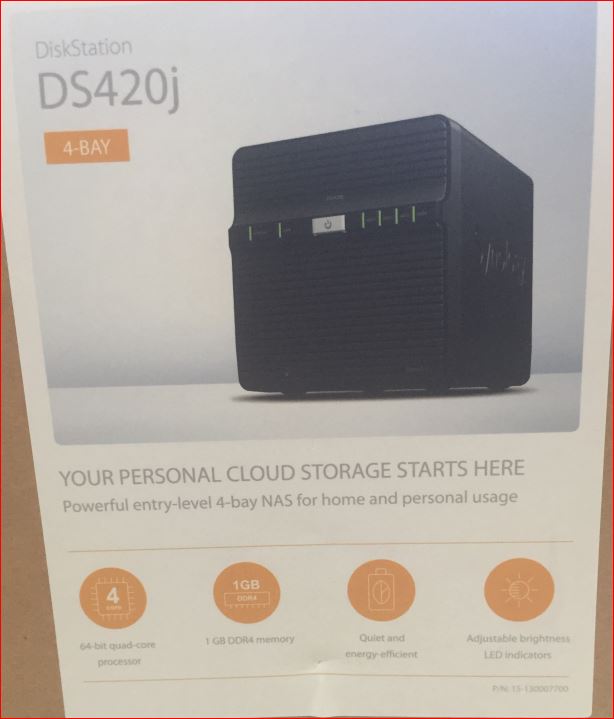
The first “victim” which i be unboxing will be synology ds420j nas which is released in 2020.
It will be a 4 bay NAS unit. The “j” indicate that its a lower end series of their product range.
Other then a “J” suffix, synology has other series, which doesnt has any suffix, Eg DS420, and a “+” suffix, Eg DS420+, which is the highest series.
In short, specs wise, DS420+ > DS420 > DS420J
And the final 2 digits usually indicate the year of release. Eg 20 means its released in 2020, meant to replace DS418 series, which is released end 2017 or in 2018.
Synology Ds420J Unboxing

This will be the original box it came in. Nothing fanciful. Simple and plain. with a label DS420j.
A zoom in view of the label.
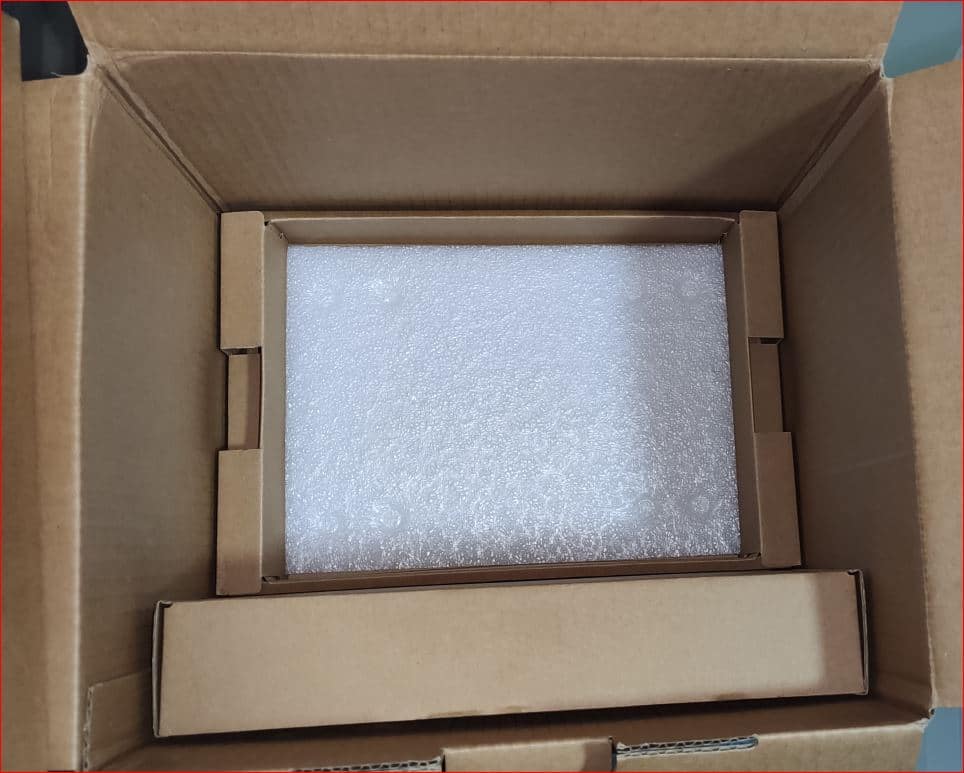
The internals of the synology diskstation packaging. Looks safe, except that one of the side seems to be lacking protection.
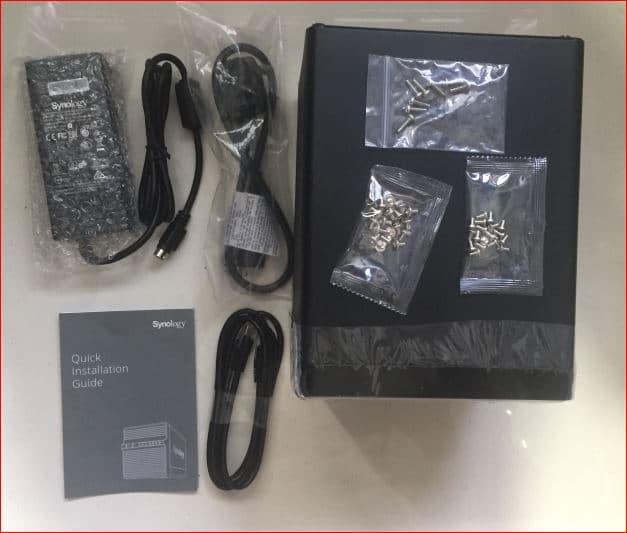
The internal contents.
- Power Adapter
- Power Cable
- Bags of screws (different sizes)
- Synology DS420j
- Lan Cable
- Quick Setup Manual
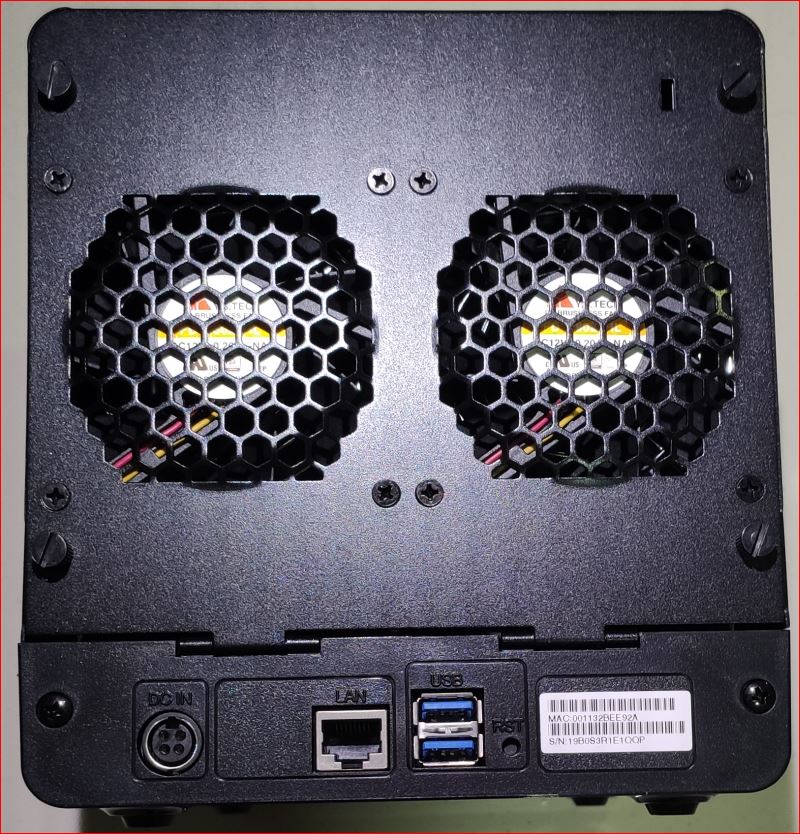
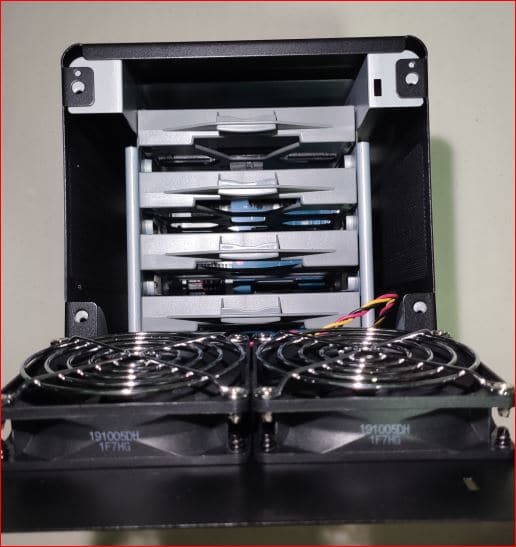
Back with 2 exhaust fans (8cm x2). cant hear much when the device is powered on. Rather quiet.
Take note of the 4 protruding screws at the image above. You will need to remove them in order to open the back of this synology unit.
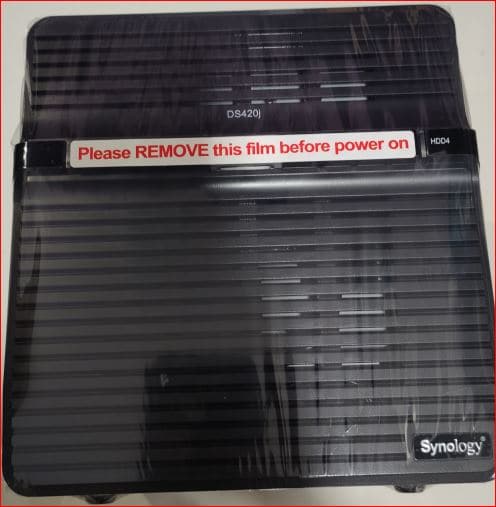
Front look, with the plastic wrap on.
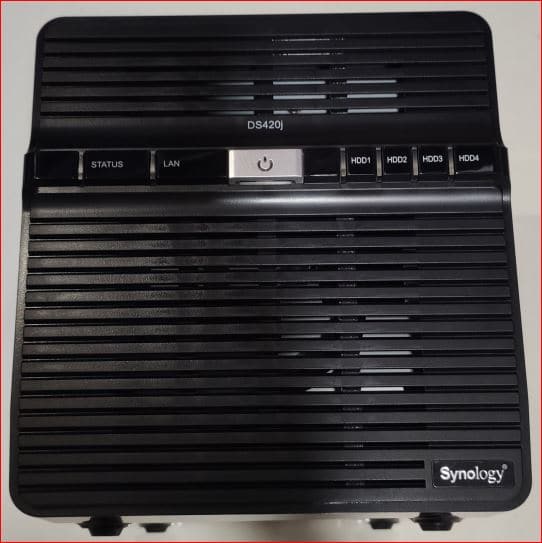
Front, with the plastic wrap removed.
If you notice the front allows the air to flow through. Likely air will flow from the front to the back where its being pulled out by the exhaust fans.
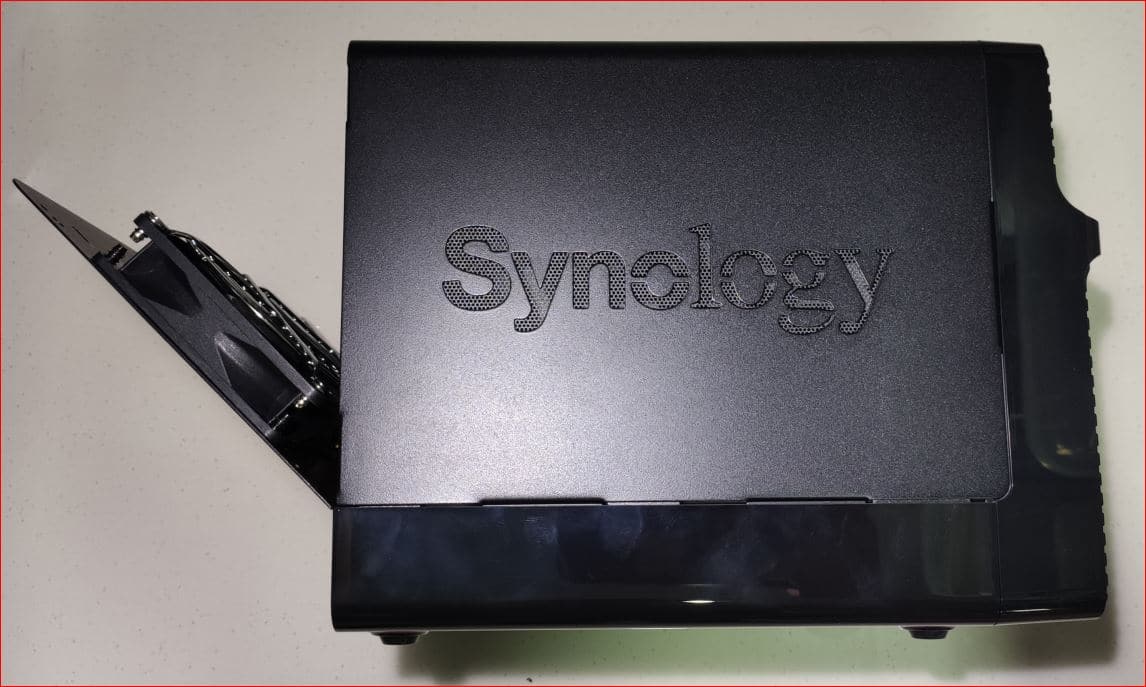
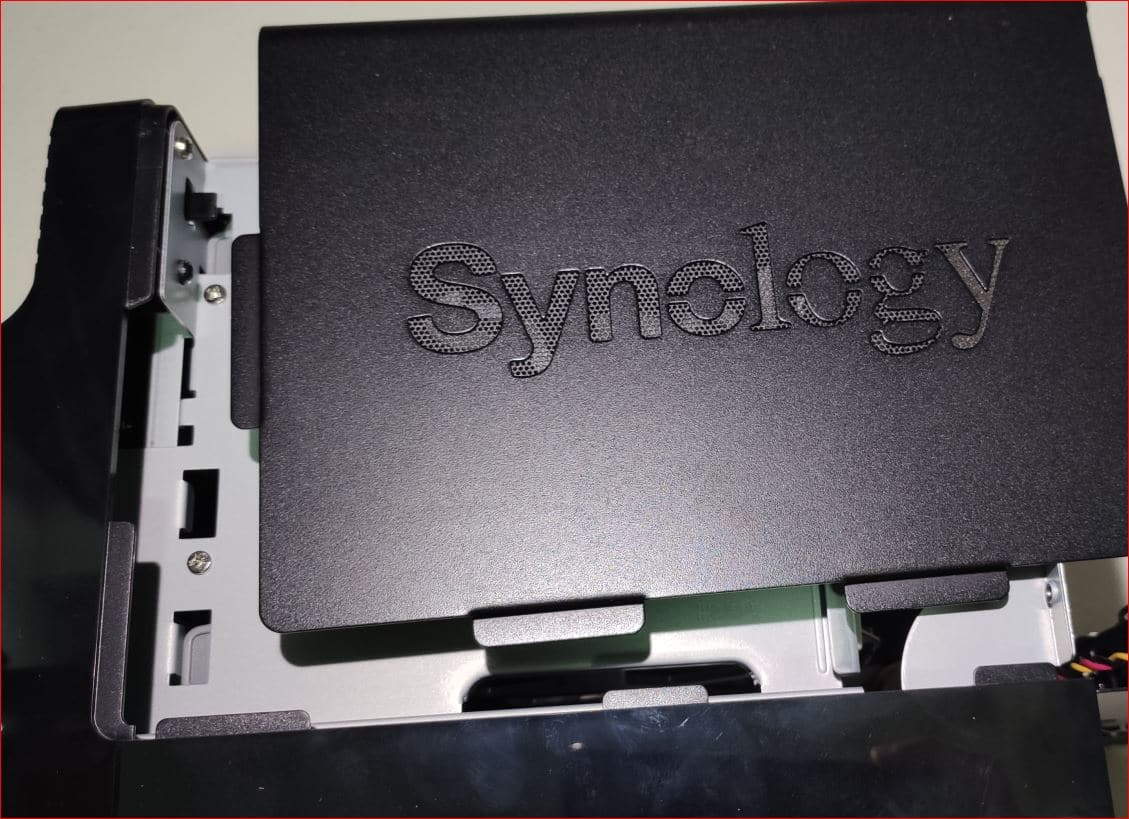
Proceed to remove the back screws and the back cover will open up, together with the exhaust fan. (side view above, with the back cover partially opened)
The “synology” wording is meshed. Allowing air to flow in from the side as well.
Do not removed the wrong screws! Doing so will dislodge the exhaust fan.
Back view with the back cover fully removed. Did u notice that the screws, which has been removed, also hold the main body cover as well?
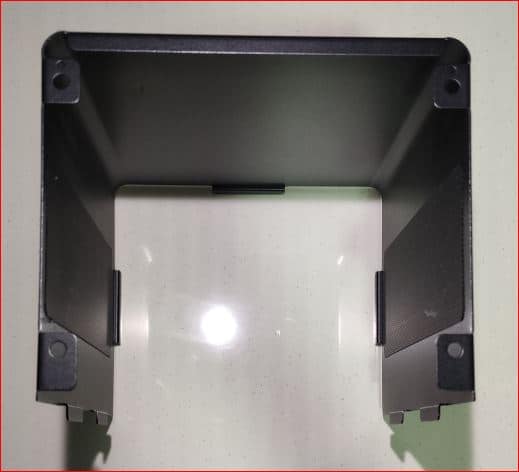
Next step will be to remove the main body cover. Do not force it out, instead, wiggle it to loosen it from the skeleton of ds420j.

Take note of the protruding edges of the main synology cover, it is meant to slot into the grooves of the main skeleton.
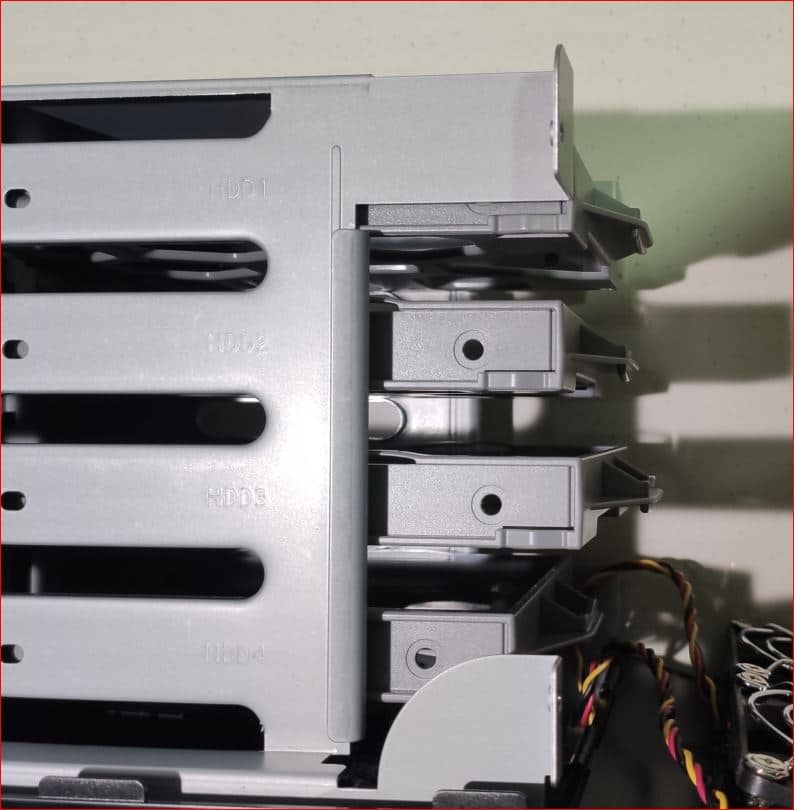
Here are the 4 trays for you to install the hard disk drives into the synology nas.
I will be installing 2 hard disks for now, hence tray HDD1 and HDD2 will be removed.
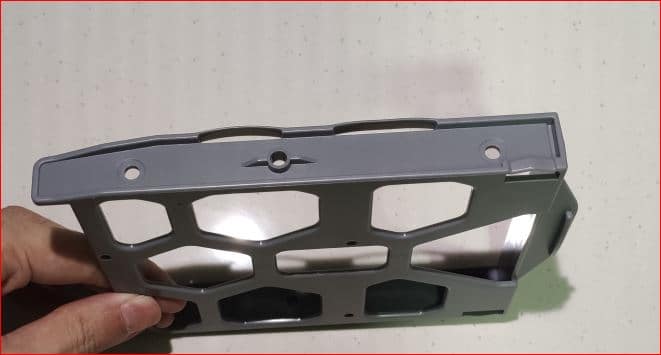
A closer view of the tray. Its made of plastic and is quite airy at the bottom. Proceed to part 2 to install in the hard disk.
Installation of hard disk into Synology DS420j NAS
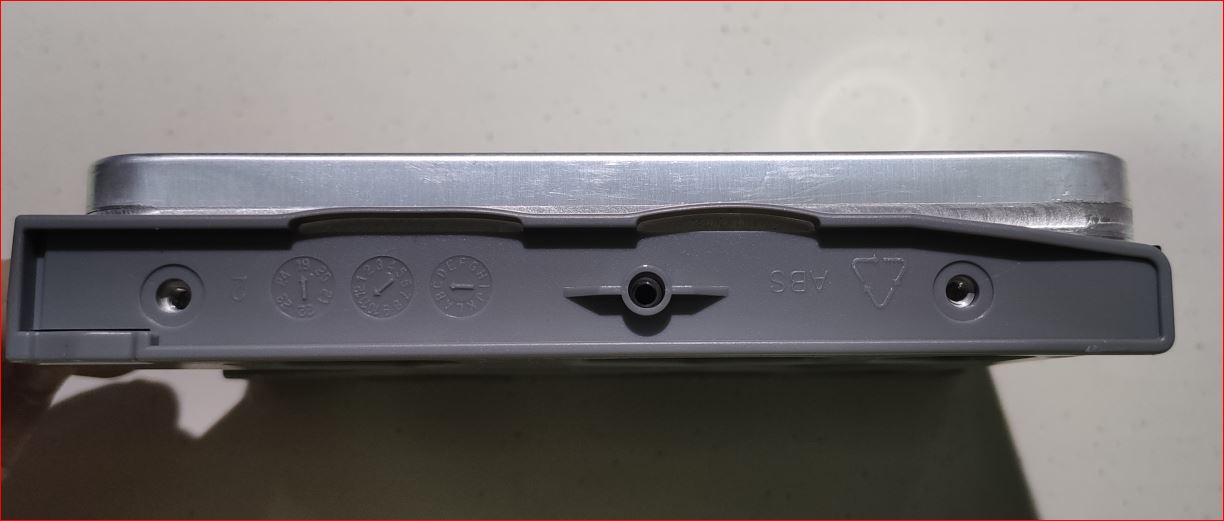
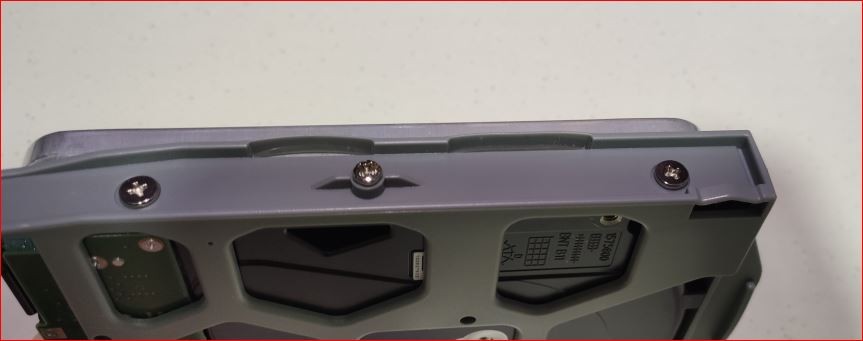
Proceed to place your hard disk, preferably a NAS type of hard disk, such as ironwolf or WD Red. and align the screw holes. (Side view)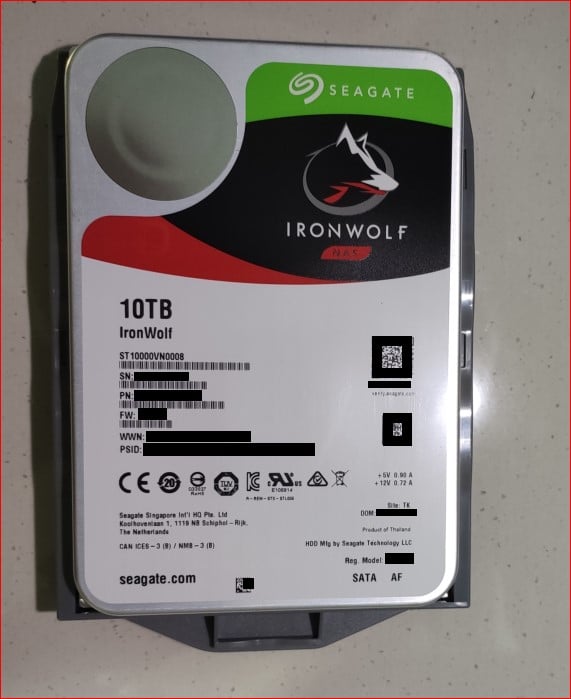
the top view of the hdd in the ds420j hdd tray.
the front or back view. Depending on your interpretation.
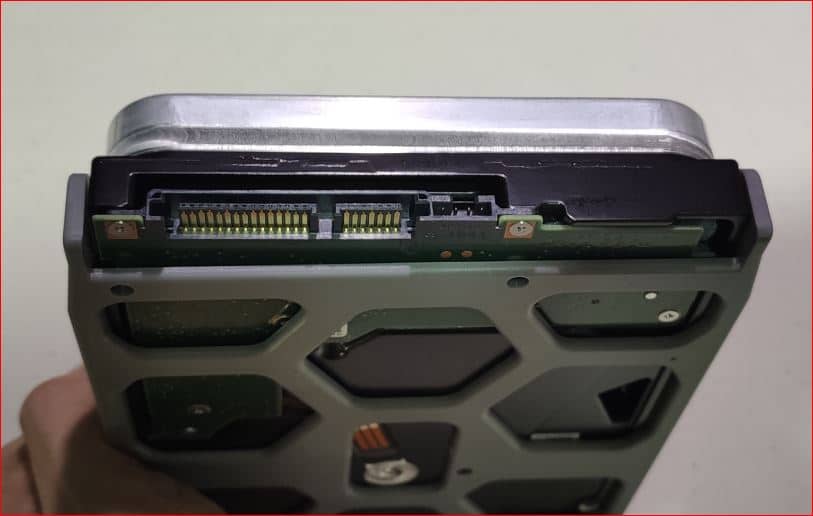
This side is meant to install head in the synology diskstation unit. The connectors on the hard disk will connect with the connectors in the synology nas unit.

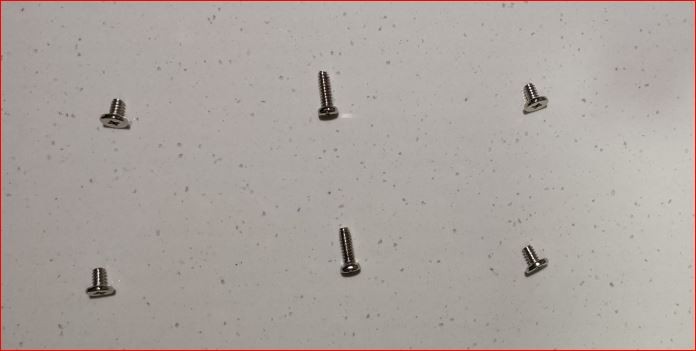
The screws to be used. There are a total of 3 screws holes on each side. And these are the screws to be used.
2 “flat” head screws and one “longer” screw with round head.
Dont follow my mistake, I screwed up!
In my excitement to finish this synology setup project, i make a mistake, which delays the process.
If u had noticed, i have screwed the middle screw in. And the results will be as below.
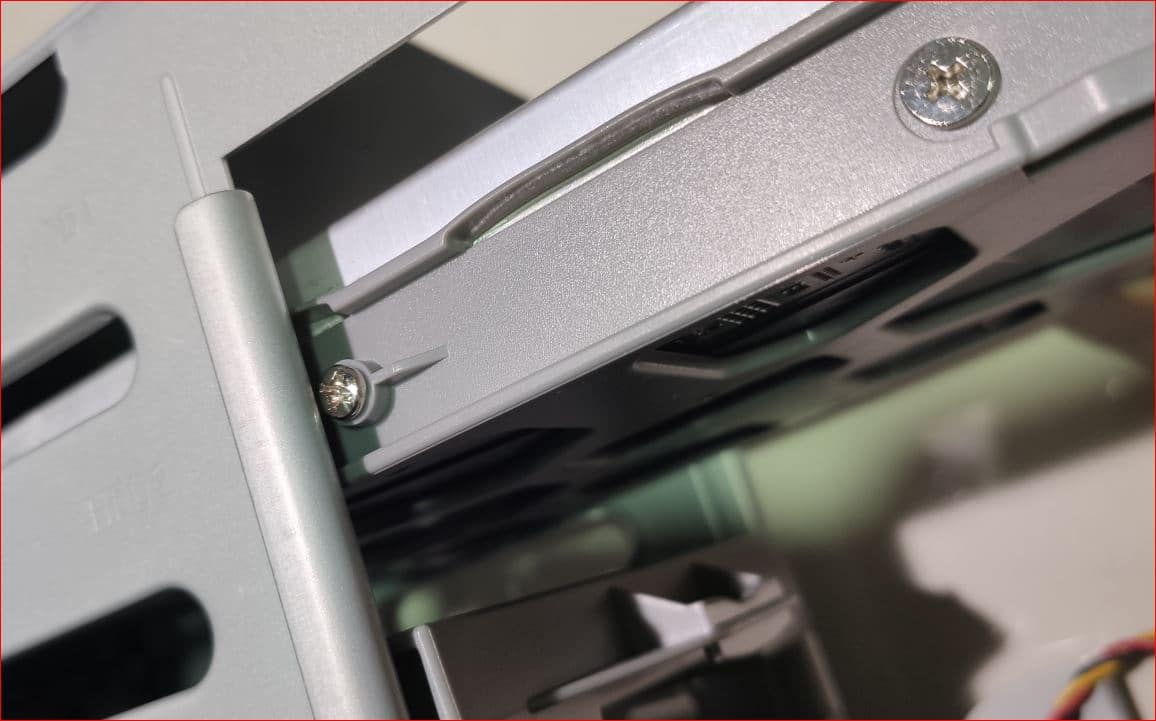
The middle screw physically blocks the insertion of the tray, which i have to remove both the middle screws.

This is the correct way to install the hard disk, without the middle screws.
Now we are able to smoothly install in the hard disk tray into the synology nas unit.
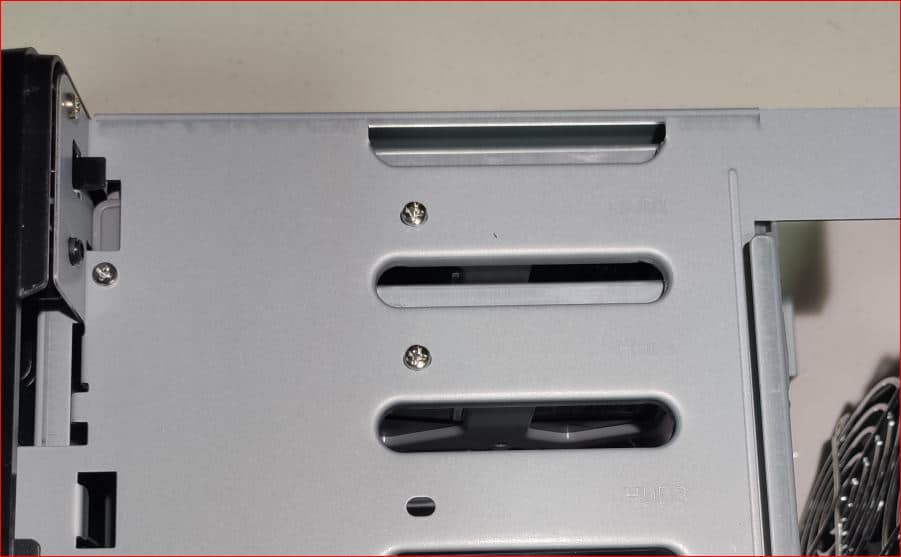
Once the tray is in, proceed to then screw in the middle screw to secure the tray to the skeleton.
Once all the hard disk drives are installed into the nas, it will be time to close the cover.
Installing back the exterior cover of DS420J into main body.
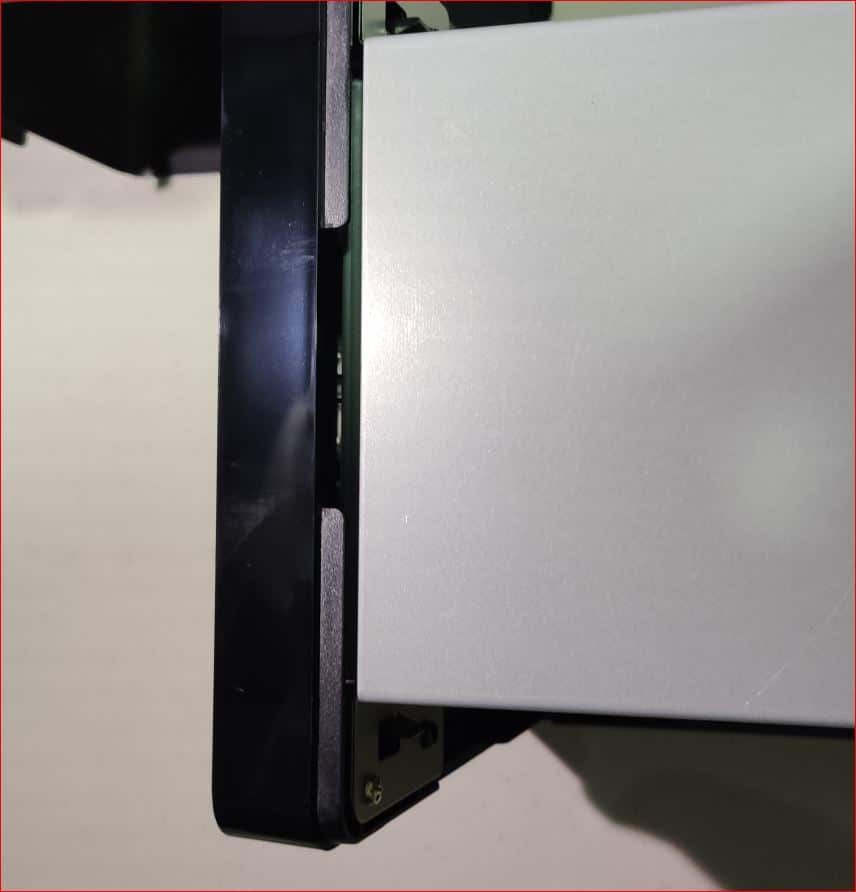
I find that the installation is not that smooth, a bit tricky. It is quite hard to insert the protruding portion cover smoothly into the grooves.
Try to work from the top, before working on either sides. I find that this method allows me to have a smoother installation.

This should be the finished product.
After which proceed to close back the back cover.
We are done with the physical installation of the Ds420J NAS unit. Now it will be time to connect the external accessories.
Setup Connection of Accessories for DS420J

Check the specs on the power unit adapter. Ensure that the input voltage is suitable for use in your country!
The unit i had is a universal adapter. Accepting incoming voltage from 100 to 240V.
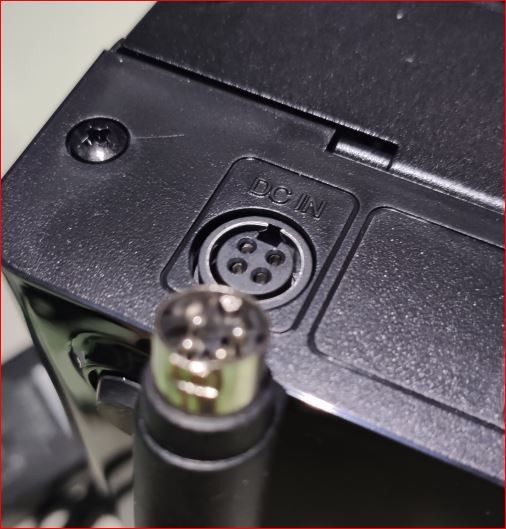
Take note of the connector on the unit itself. You will notice that there is a groove / cut. This is usually a one direction installation.
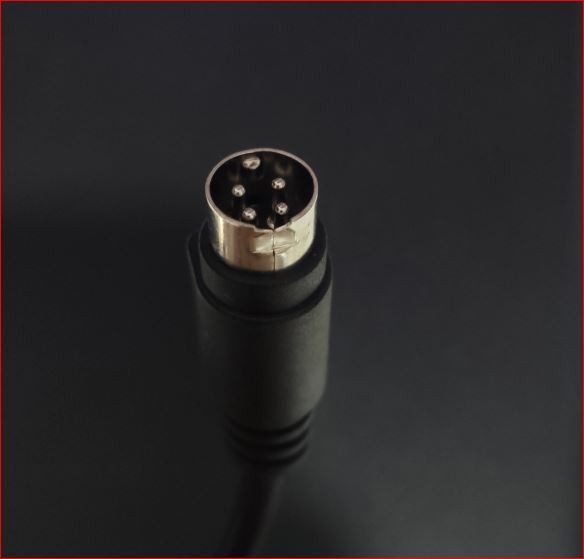
Check the other end of the power adapter. You will notice that there is a groove / cut the the top. Insert the correct way into the unit.
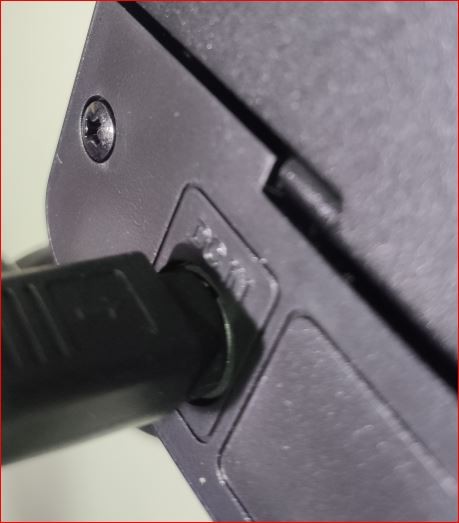

And proceed to power the synology unit on for the first time.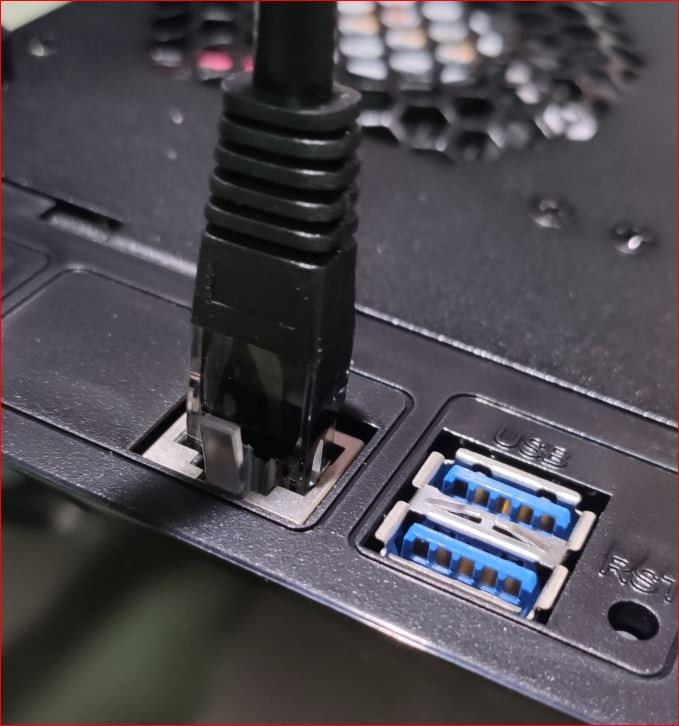
Lastly, connect the lan cable into the synology ds420j. And proceed with the software setup of the Ds420j nas device.
Before you do that, you will need to find the synology diskstation nas ip address.
More hardware info on Ds420j
https://www.synology.com/en-sg/products/DS420j